README file from
GithubWatermark Bucket Uploader
Paste an image. It's uploaded, watermarked, and linked — before you lift your finger.
Stop wrestling with image hosting. This Obsidian plugin intercepts every paste and drop, stamps your watermark, converts to WebP, uploads to your own S3/R2 bucket, and drops a clean  right into your note. Zero friction. Your images, your infrastructure, your brand.
Why you'll love it
- Zero-step uploads — paste or drag an image and it's already in your bucket. No menus, no dialogs.
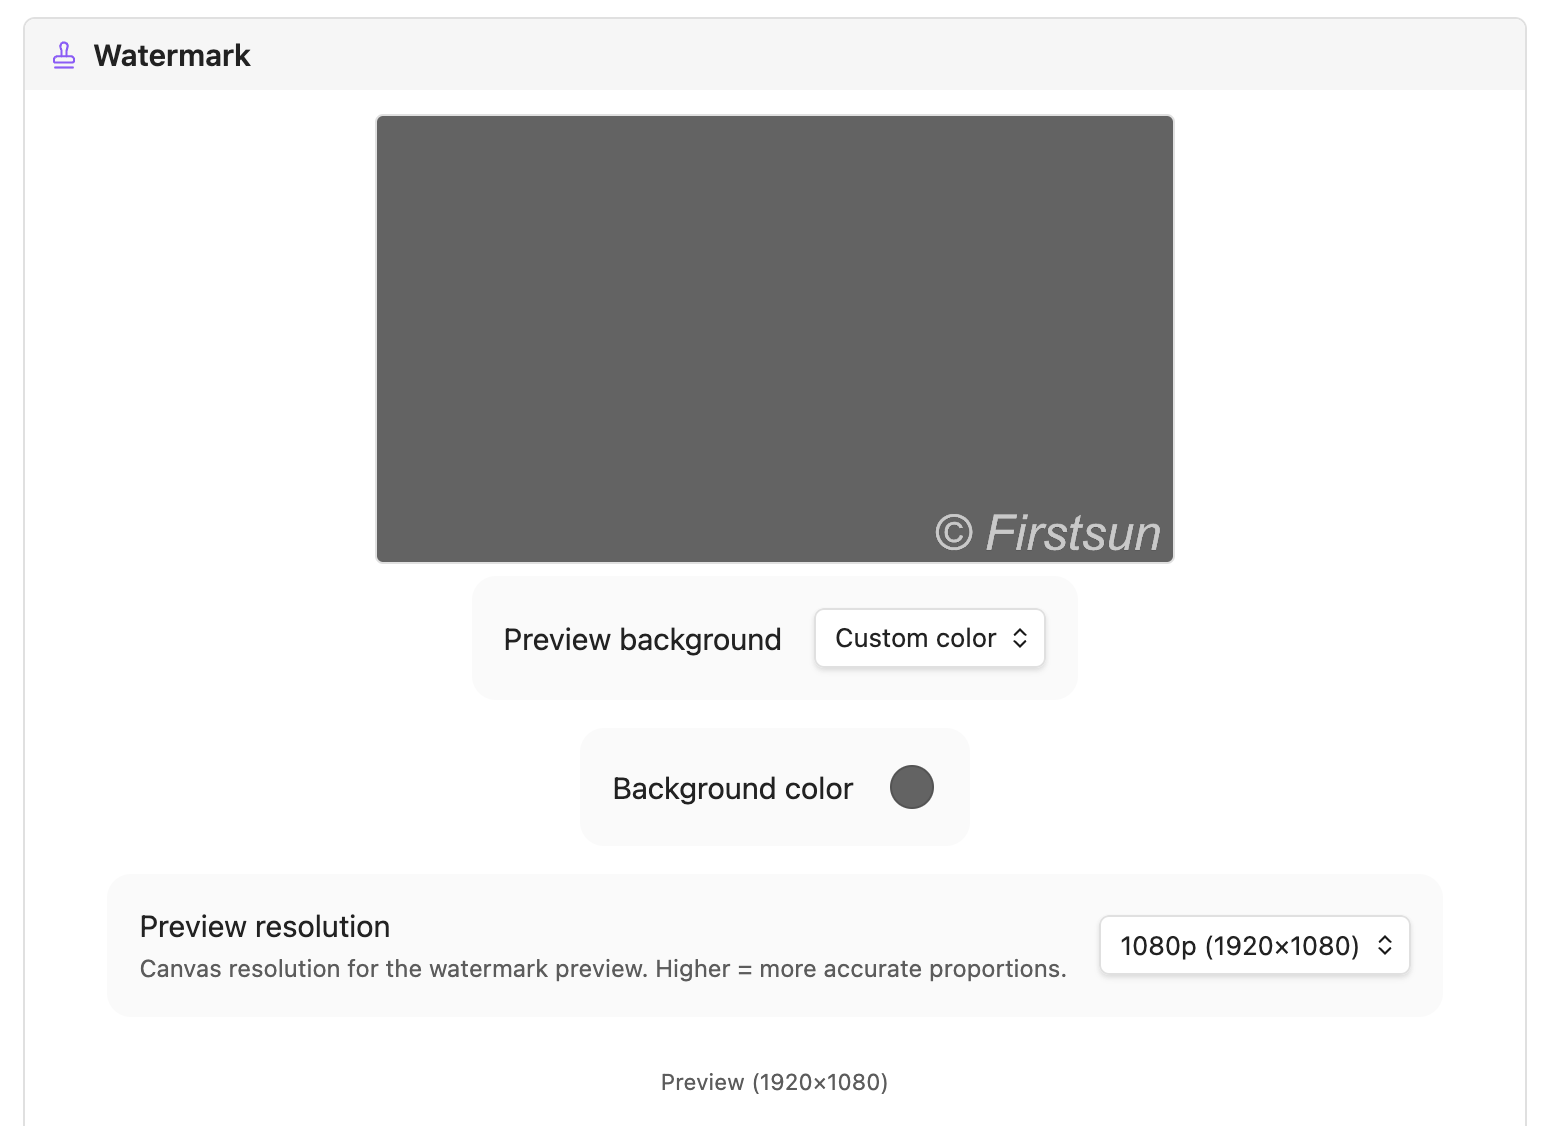
- Your watermark, your brand — overlay custom text or your logo on every image automatically. Font, size, color, opacity, position — all yours to configure, with a live preview so what you see is what you get.
- Smaller files, faster pages — automatic WebP conversion and compression keep your storage lean and your site fast.
- Works with any S3-compatible storage — Cloudflare R2, AWS S3, MinIO, Backblaze B2, and more. Bring your own bucket.
- Keeps your private notes private — glob-based ignore patterns let you exclude specific folders from ever being uploaded.
- Not just images — optionally upload video, audio, and PDFs the same way.
Installation
- Download the latest release:
main.js,manifest.json,styles.css. - Copy them to
<vault>/.obsidian/plugins/watermark-bucket-uploader/. - Enable the plugin in Settings → Community plugins.
Setup
Go to Settings → Watermark Bucket Uploader and fill in your bucket credentials.
Storage
| Field | Description |
|---|---|
| Access Key | S3 / R2 access key ID |
| Secret Key | S3 / R2 secret access key (stored securely in local storage) |
| Region | Bucket region (auto for Cloudflare R2) |
| S3 Bucket | Your bucket name |
| Bucket Folder | Optional path prefix — supports ${year}, ${month}, ${day}, ${basename} |
| Custom Endpoint | Required for R2 and non-AWS providers |
| Custom Image URL | Public URL base, e.g. your CDN or custom domain |
Cloudflare R2 quick setup
- Create a bucket in the R2 dashboard.
- Generate an API token with Object Read & Write permissions.
- Set Custom Endpoint to
https://<account-id>.r2.cloudflarestorage.com. - Set Region to
auto. - Set Custom Image URL to your public bucket domain.
Watermark
Open the Live Preview in settings to see changes in real time.
| Field | Description |
|---|---|
| Text Watermark | Toggle text overlay |
| Text | e.g. © yourdomain.com |
| Font / Size / Style / Color | Full typography control; size 0 = auto (2% of image width) |
| Logo Watermark | Toggle image overlay |
| Logo Path | Vault-relative path, e.g. _assets/logo.png |
| Logo Size / Opacity | Scale (% of image width) and transparency (0–1) |
| Position | Bottom Right, Bottom Left, Bottom Center, or Center |
| Offset X/Y | Fine-tune placement (±% of image dimensions) |
| Preview Res | Canvas resolution for preview accuracy (720p–4K) |
Usage
| Action | Result |
|---|---|
Ctrl/Cmd+V in any note |
Intercepts the image, processes it, uploads, inserts  |
| Drag & drop onto the editor | Same pipeline (enable "Upload on drag" in settings) |
Command Palette → Upload image |
Pick a local file to upload manually |
| Auto-upload on create | Any image added to your vault is uploaded and removed locally |
License
MIT