README file from
GithubGraphPro for Obsidian
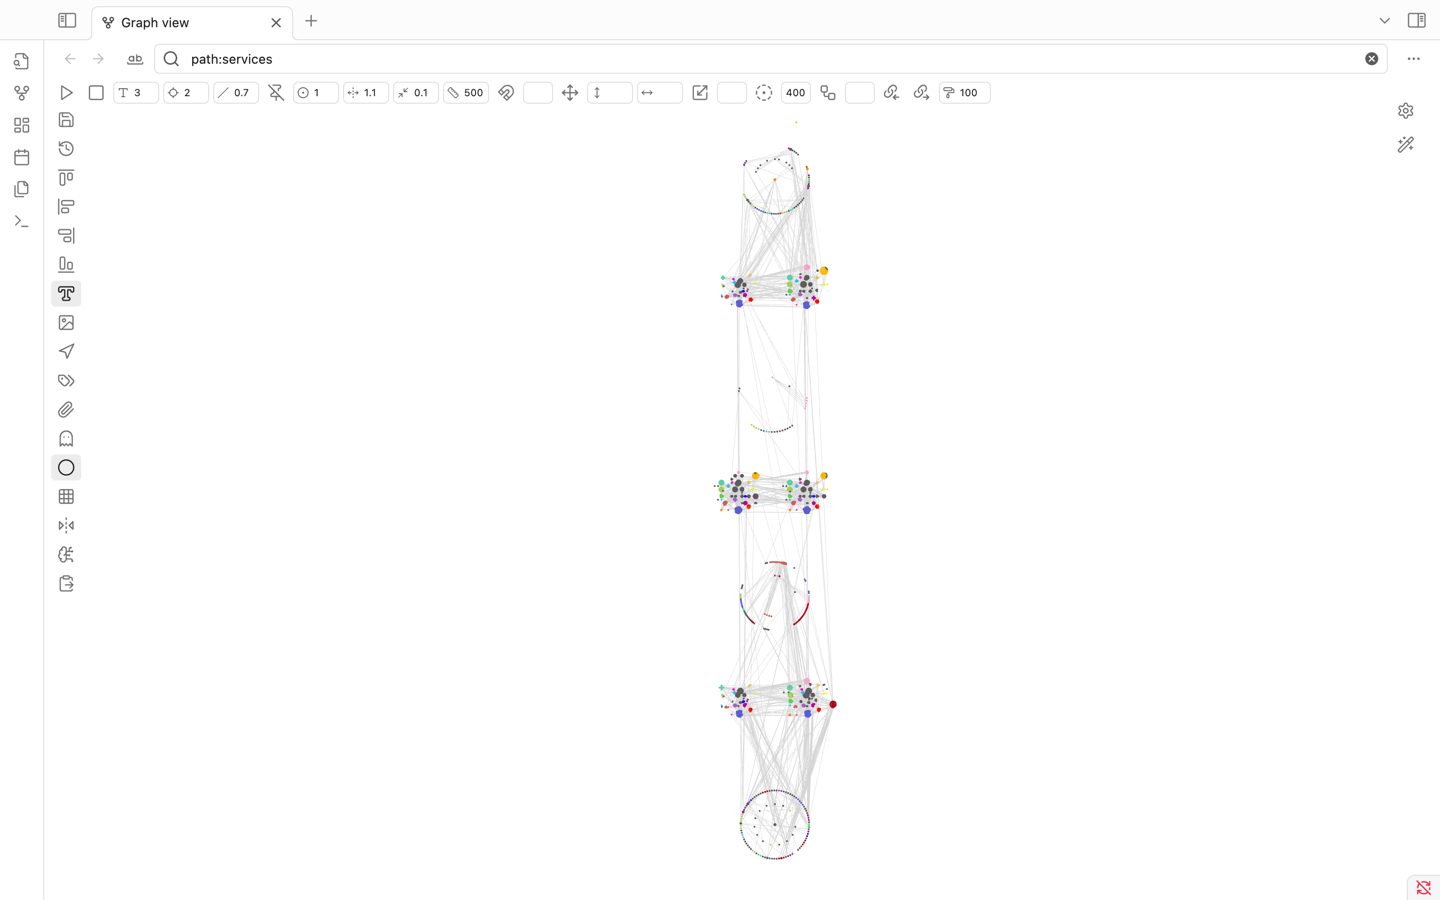
GraphPro supercharges the native Obsidian graph view with a plethora of advanced controls, layout tools, selection enhancements, and position management features. It aims to provide a more powerful and flexible way to interact with and organize your graph.
✨ Features
Layout & Position Management:
- Save & Restore Positions: Save the current node positions and restore them later.
- Position History: Access a history of saved positions via right-click on the "Restore" button.
- Automatic Restore: Option to automatically restore the last active node positions on startup.
- Undo/Redo: In-memory undo (Ctrl/Cmd+Z) and redo (Ctrl/Cmd+Shift+Z) for position changes.
- Align Nodes: Align selected nodes (start, end, vertical, horizontal).
- Move & Scale Selection: Precisely move or scale selected nodes.
- Arrange in Circle: Arrange selected nodes in a circular pattern around the heaviest node or with defined inner/outer circles based on ID substrings.
- Unlock Positions: Unlock the fixed positions of selected nodes.
- Snap to Grid: Option to snap nodes to a configurable grid when dragging.
- Grid Display: Toggle a visual grid in the background.
Selection Tools:
- Area Selection: Select nodes by dragging a rectangle while holding
Shift.- Hold
Alt+Shiftwhile dragging to deselect nodes within the rectangle.
- Hold
- Regex Selection: Switch the search bar to a "node selection mode" to select nodes by a regular expression matching their ID.
- Select Related: Select nodes connected to the current selection, up to a specified depth.
- Select Backlinks/Outgoing Links: Expand selection to include backlinks or outgoing links of currently selected nodes.
- Selection Status Bar: Displays count of selected nodes and statistics about common frontmatter keys (e.g.,
cluster,namespace,service) and, for single selections, backlink/outgoing link counts and property counts with quick access to side panes.
Display & Visuals:
- Neighbor Labels: Display labels of neighboring nodes on hover.
- Customize label content using Regex or a frontmatter field.
- Node Icons: (Experimental) Display custom icons for nodes (requires manual configuration in
iconMap). - Selection Highlighting: Clearly highlights selected nodes.
- Mirrored Core Controls: Direct access and input fields for core graph settings like text fade, node size, link size, forces, etc., directly in the GraphPro toolbars.
- Additional Toggles: Quick toggles for arrows, tags, attachments, unresolved files, orphans.
Simulation & Force Control:
- Run/Stop Simulation: Manually start or stop the graph's force simulation.
- Node Weight: Set the weight for selected nodes, influencing the force simulation.
- Fine-tune Forces: Inputs to adjust center force, repel force, link force, and link distance.
Advanced & External Interaction:
- GPT Prompt Generation: Copy a JSON representation of selected nodes (positions, colors, links, key metadata) and a base prompt to the clipboard for use with AI layout tools like GPT.
- Paste Positions from Clipboard: Update node positions from a JSON object (matching the GPT prompt format) pasted from the clipboard.
UI Enhancements:
- Dedicated Control Panels: Adds a top and a left-hand toolbar directly within the graph view for quick access to all features.
- Integrated Search/Selection: Modifies the graph search bar to toggle between filtering and node selection modes.
🚀 How to Use
Once installed, GraphPro automatically enhances any open graph view. You'll see new control panels:
1. Top Control Bar:
- ▶️ Run simulation: Starts the force-directed layout algorithm.
- ⏹️ Stop simulation: Halts the layout algorithm, freezing nodes.
- T (Type icon): Text fade threshold.
- ◎ (Locate icon): Node size.
- ╱ (Slash icon): Link thickness.
- 📌 (Pin-off icon): Unlock selected nodes' positions, allowing the simulation to move them.
- 🎯 (Circle-dot icon): Center force strength.
- ↔️ (Unfold-horizontal icon): Repel force strength.
- ⇆ (Minimize-2 icon): Link force strength.
- 📏 (Ruler icon): Link distance.
- 🧲 (Magnet icon): Set weight for selected nodes (use adjacent input for value).
- (Input field for weight)
- ➕ (Move icon): Move selected nodes by X/Y offsets (use adjacent inputs).
- ↕️ (Move-vertical icon with input): Vertical move offset.
- ↔️ (Move-horizontal icon with input): Horizontal move offset.
- ↔️ (Scaling icon): Scale selected nodes around their centroid (use adjacent input for ratio).
- (Input field for scale ratio)
- ⭕ (Circle-dot-dashed icon): Arrange selected nodes in a circle (use adjacent input for max radius).
- (Input field for circle radius)
- ☊ (Workflow icon): Select related nodes (use adjacent input for depth).
- (Input field for depth)
- 🔗← (Links-coming-in icon): Select backlinks of selected nodes.
- →🔗 (Links-going-out icon): Select outgoing links of selected nodes.
- 🖌️ (Paint-roller icon with input): Selection highlight stroke width.
2. Left Control Bar:
- 💾 (Save icon): Save current node positions. A new timestamped entry is created.
- ↺ (History icon): Restore positions from the currently selected history entry.
- Right-click: Show a menu with all saved position histories. Select one to load. Also allows toggling "Auto restore on startup."
- ‖← (Align-start-horizontal icon): Align selected nodes to the top-most Y.
- ↑‖ (Align-start-vertical icon): Align selected nodes to the left-most X.
- ↓‖ (Align-end-vertical icon): Align selected nodes to the right-most X.
- ‖→ (Align-end-horizontal icon): Align selected nodes to the bottom-most Y.
- T□ (Type-outline icon): Toggle display of neighbor labels on hover.
- 🖼️ (Image icon): Toggle display of custom node icons (if configured).
- 🧭 (Navigation icon): Toggle display of link arrows (mirrors core setting).
- 🏷️ (Tags icon): Toggle display of tags (mirrors core setting).
- 📎 (Paperclip icon): Toggle display of attachments (mirrors core setting).
- 👻 (Ghost icon): Toggle "Existing files only" (mirrors core setting).
- ⚪ (Circle icon): Toggle display of orphans (mirrors core setting).
- ▦ (Grid icon): Toggle display of the background grid.
- ↔️↕️ (Flip-horizontal-2 icon): Toggle "Snap to grid" for node dragging.
- 🧠 (Brain-circuit icon): Copy GPT prompt and selected nodes' data to clipboard.
- 📋 (Clipboard-paste icon): Update node positions from JSON in clipboard.
3. Search Bar Area (Top of Graph View):
- The standard search bar is enhanced.
- Ab (Whole-word icon): Switch search to "Nodes Selection Mode". The input field will now accept a Regular Expression. Press Enter to select nodes whose IDs match the regex.
- ♀ (Filter icon): Switch search back to standard "Filter Mode".
4. Node Selection:
- Hold
Shiftand drag the mouse to draw a selection rectangle. - Hold
Alt+Shiftand drag to deselect nodes within the rectangle. - Selected nodes will be highlighted. Information about the selection appears in the Obsidian status bar at the bottom.
5. Node Dragging:
- When dragging a node, if other nodes are selected, they will be co-dragged, maintaining their relative positions.
- If "Snap to Grid" is enabled, nodes will snap to the nearest grid intersection upon release.
6. Keyboard Shortcuts:
Ctrl/Cmd + Z: Undo last node position change.Ctrl/Cmd + Shift + Z: Redo last node position change.
7. "Advanced" Section in Core Graph Controls:
- GraphPro adds an "Advanced" section to Obsidian's native graph control panel (usually on the right).
- Label Regex: A regex to extract a display label from the node ID for neighbor labels (e.g.,
(?<label>.*)). - Frontmatter Field: A frontmatter key to use for the node's display label (overrides Label Regex if the field exists and has a value).
⚙️ Settings
GraphPro offers several settings, accessible through the plugin's UI elements and the "Advanced" section in the core graph controls:
showIcons(via Image icon): Toggle visibility of custom node icons.showNeighborLabels(via Type-outline icon): Toggle visibility of labels for neighbors of a hovered node.showGrid(via Grid icon): Toggle visibility of the background grid.snapToGrid(via Flip-horizontal-2 icon): If true, nodes will snap to the grid when dragged.automaticallyRestoreNodePositions(via Restore button context menu): If true, the plugin will attempt to restore node positions from thecurrentPositionsHistoryKeywhen the graph is opened.currentPositionsHistoryKey(managed internally, selected via Restore button context menu): Stores the key/timestamp of the position history to be used for auto-restore or manual restore.labelRegex(Advanced graph controls): A JavaScript regular expression with a named capture grouplabel(e.g.,^(?:nodes\/)?(?<label>[^\/]+?)(?:\.md)?$) to extract a cleaner label from the node ID for neighbor labels.frontmatterField(Advanced graph controls): The name of a frontmatter field (e.g.,title,alias) to use for neighbor labels. If a node has this field, its value will be used as the label; otherwise,labelRegexwill be attempted.selectionWidth(Top bar input): The thickness of the highlight stroke around selected nodes.maxArrangeCircleRadius(Top bar input): The maximum radius used when arranging selected nodes in a circle.searchSelectionMode(managed internally, toggled via search bar icons): Determines if the graph search input is used for filtering or regex-based node selection.
Position history is saved as JSON files in .obsidian/plugins/graph-pro/position-history/.
Plugin settings are saved in .obsidian/plugins/graph-pro/data.json.
💾 Installation
- Ensure you have Obsidian installed.
- Install BRAT (Beta Reviewers Auto-update Tester) from the Community Plugins section in Obsidian.
- Open the command palette (Ctrl/Cmd+P) and run "BRAT: Add a beta plugin".
- Paste the URL of this repository
https://github.com/Air-Mark/graph-prointo the dialog. - Enable "GraphPro" in the "Community Plugins" tab in Obsidian's settings.
(Alternatively, for manual installation:)
- Download the
main.js,manifest.json, and (if any)styles.cssfrom the latest release. - Create a new folder named
graph-proinside your Obsidian vault's.obsidian/plugins/folder. - Copy the downloaded files into the
graph-profolder. - Go to Settings -> Community Plugins in Obsidian and enable "GraphPro".
⚠️ Known Issues / Limitations
- The
iconMapfor custom node icons is currently hardcoded and empty in the provided source. To use custom icons, this map would need to be populated manually in the code or a UI for managing it would be needed.
🤝 Contributing
Contributions, issues, and feature requests are welcome! Please feel free to check the issues page.
This README provides a comprehensive overview. Let me know if you'd like any section expanded or clarified!