
README file from
GithubPhotoMark+
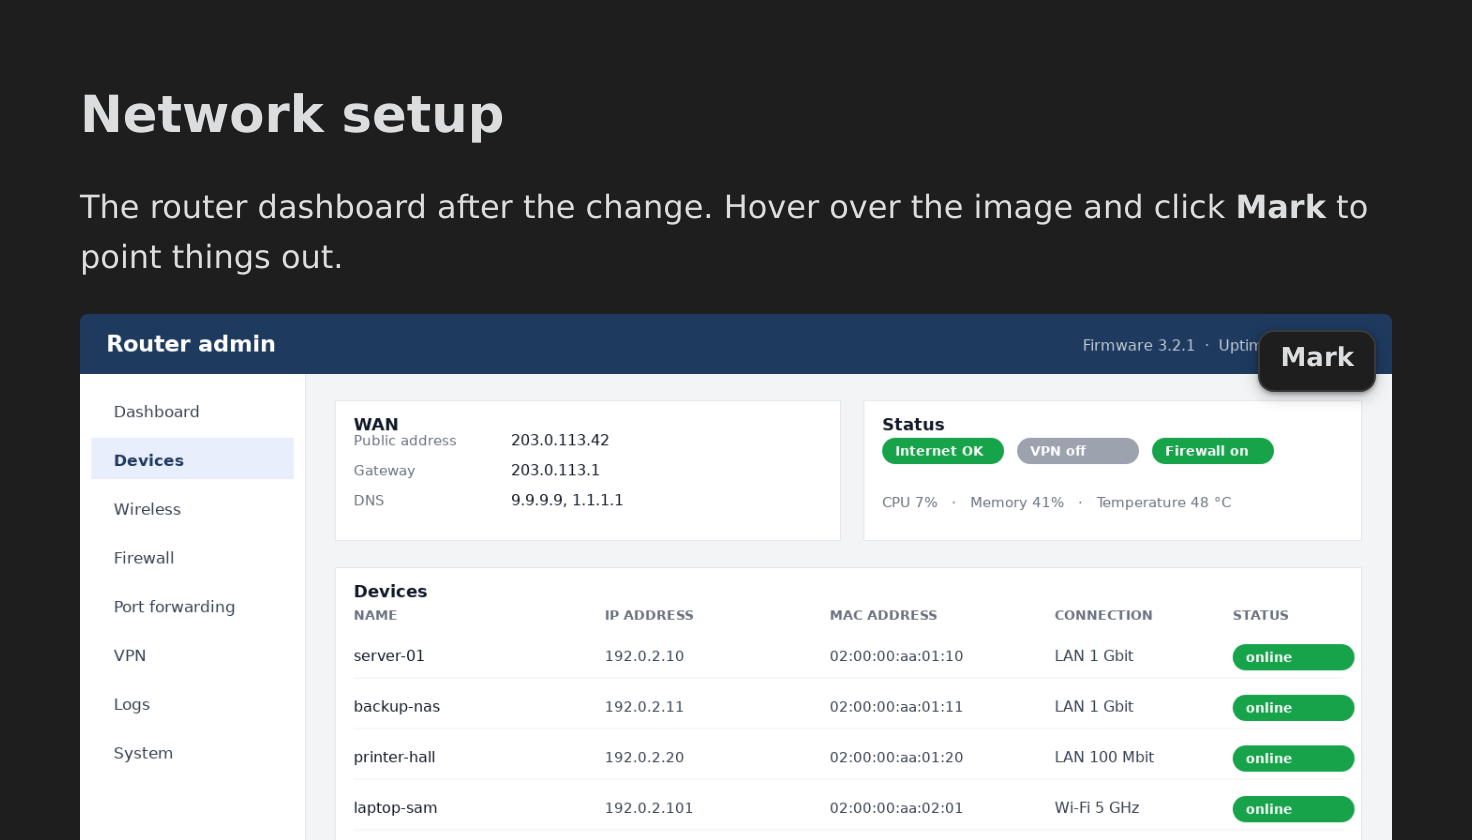
Mark up images without leaving your notes. Hover over an image, click Mark, draw, save. That is the whole workflow.
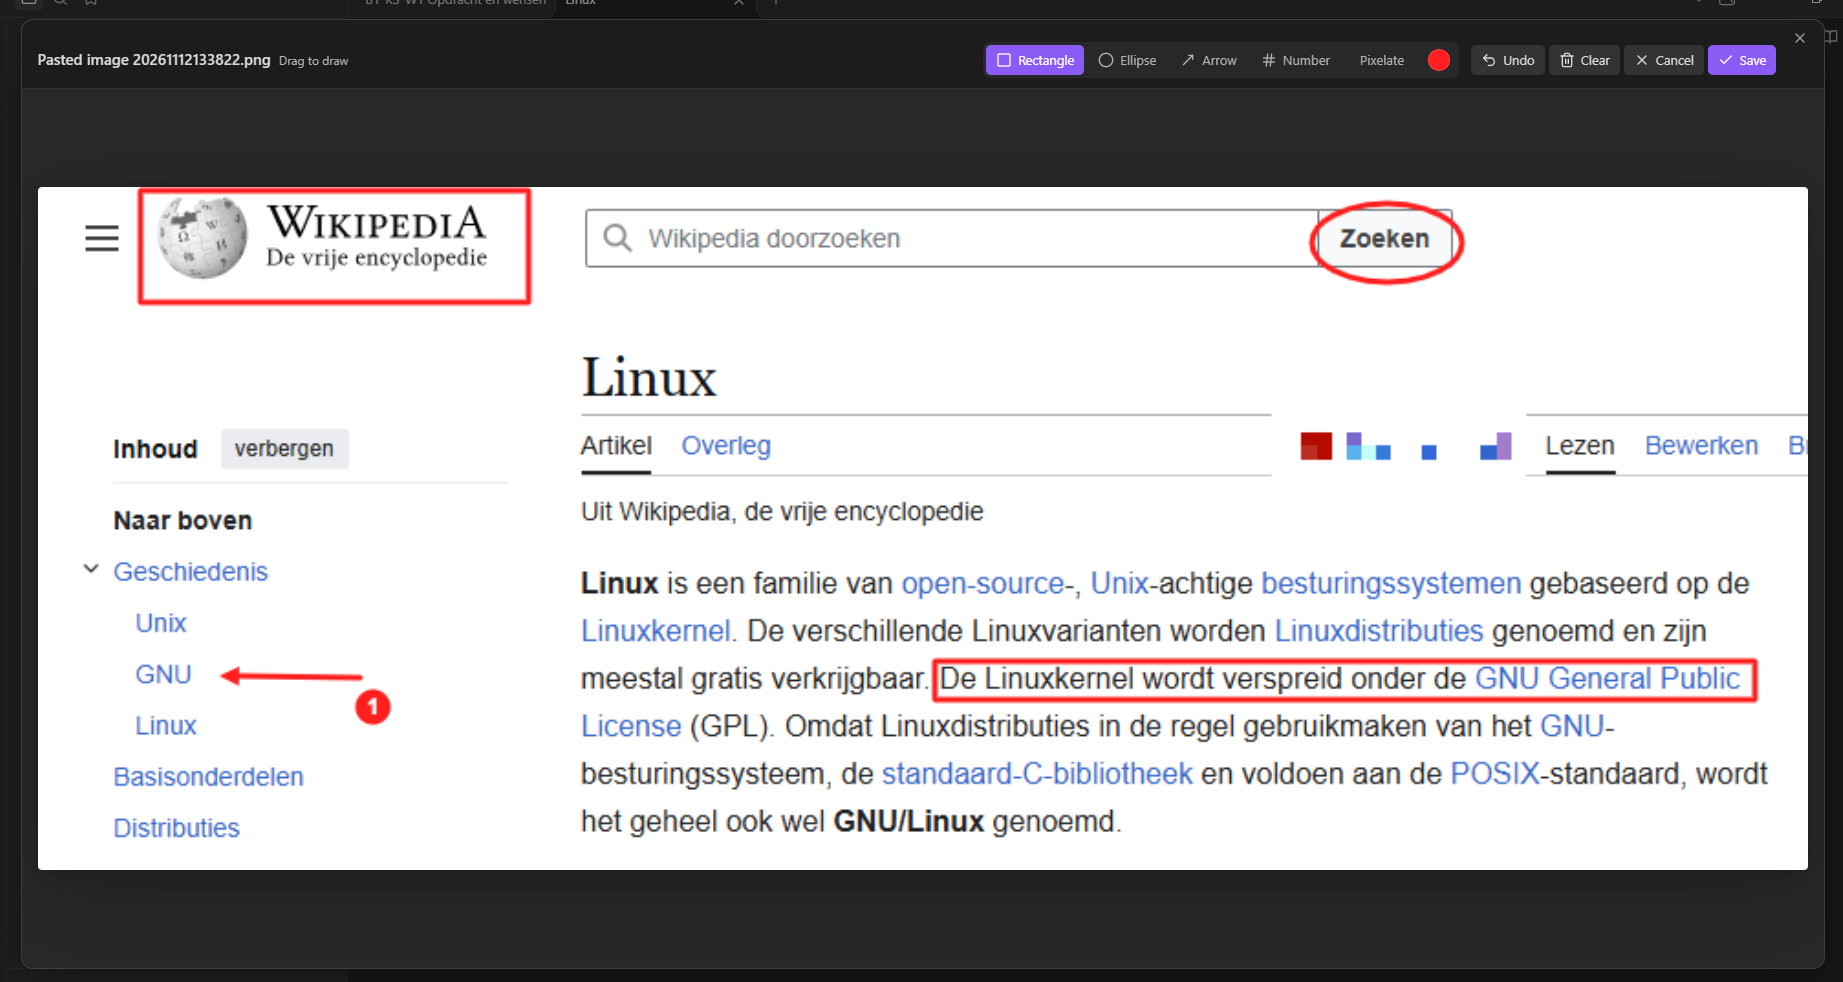
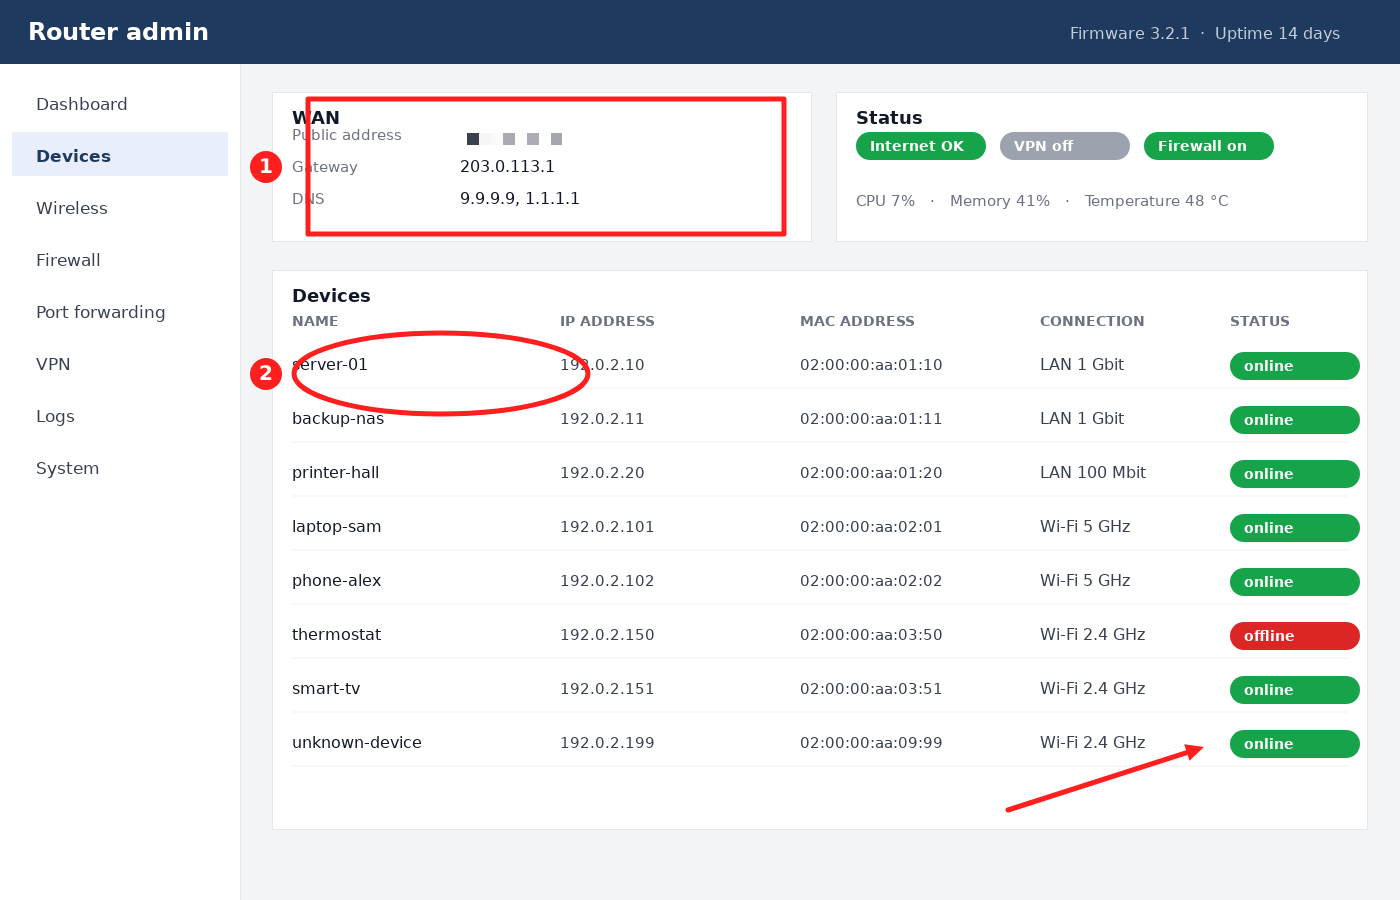
Rectangles, ellipses, arrows, numbered markers and a pixelate tool for hiding passwords, addresses or faces. Works on desktop and on mobile, in reading view and in Live Preview.
Why
Screenshots in notes often need a quick "look here": a box around a setting, an arrow pointing at a button, numbers for a step-by-step guide, or a blurred bit you do not want to share. Doing that in a separate image editor, exporting and re-embedding breaks your flow. PhotoMark+ edits the image where it is and saves it straight back into the vault.
Features
- Mark button on every image. Appears in the top-right corner when you hover over an image (on touch screens: tap the image first).
- Five tools: rectangle, ellipse, arrow, numbered marker (counts up automatically) and pixelate.
- Color picker in the toolbar; the line width scales with the size of the image, or set a fixed width.
- Undo, clear and keyboard shortcuts for everything.
- Two ways to save: overwrite the original, or save a copy next to it and let the plugin update the embeds in your note.
- PNG, JPG and WebP. PNG stays lossless and keeps transparency.
- Private by design. No network requests, no telemetry, no external libraries. One file of plain JavaScript.
- Interface in English and Dutch (follows the Obsidian language setting, or pick one in the settings).
How to use
There are three ways to open the editor:
- Hover over an image in a note and click Mark in its top-right corner. On a phone or tablet, tap the image and then the button.
- Right-click an image in the file explorer, or right-click a line in the editor that contains an image, and choose Mark image.
- Run the command PhotoMark+: Mark image from the command palette. It opens the image on the current line, the image you are viewing, or lets you pick one from the note.
In the editor, pick a tool and drag on the image. For a numbered marker, just click. Click Save when you are done.
| Key | Action |
|---|---|
R E A N P |
Rectangle, Ellipse, Arrow, Number, Pixelate |
Ctrl/Cmd+Z |
Undo the last mark |
Enter or Ctrl/Cmd+S |
Save |
Esc |
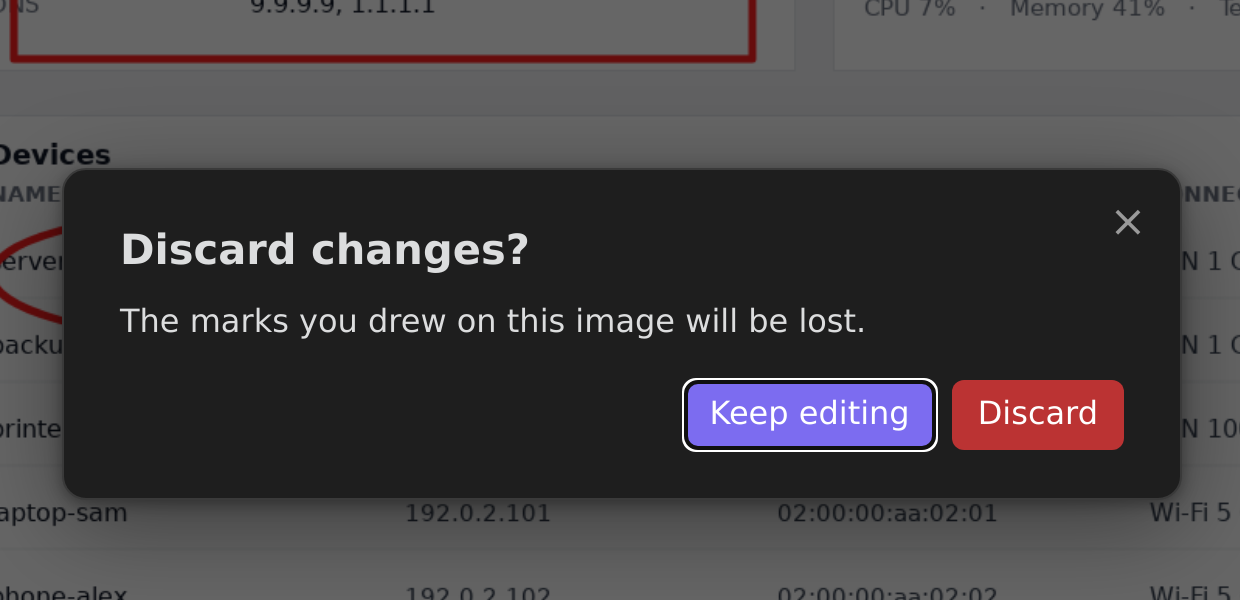
Cancel (asks first if you drew something) |
The result is a normal image file, so it looks the same everywhere: in Obsidian, on your phone, in an export or on a published site.
Settings
| Setting | Default | What it does |
|---|---|---|
| Default color | red (#ff1f1f) |
Color for new marks. You can still change it in the editor; the last used color is remembered. |
| Line width | automatic | In image pixels. Automatic scales with the image (about 1/280 of the longest side, at least 3). |
| JPEG and WebP quality | 92 | Only applies to lossy formats. PNG is always lossless. |
| When saving | overwrite | Overwrite replaces the file. Copy writes name-marked.png next to the original and updates the embeds in the note you started from. |
| Suffix for copies | -marked |
Only used in copy mode. |
| Show the Mark button on images | on | Turn off if you only want the context menu and the command. |
| Corner for the Mark button | top right | Move the button to another corner if it covers a button of another plugin. |
| Language | follow Obsidian | English or Dutch, independent of the Obsidian language. |
Installation
Community plugins (recommended): Settings → Community plugins → Browse → search for PhotoMark+ → Install → Enable. (Available once the plugin is accepted into the community list.)
With BRAT: add VBV11/photomark-plus in the BRAT plugin.
Manually: download main.js, manifest.json and styles.css from the latest release into <your vault>/.obsidian/plugins/photomark-plus/, reload Obsidian and enable the plugin under Community plugins.
Requires Obsidian 1.5.0 or newer. Desktop and mobile.
Good to know
- Overwrite really overwrites. The previous version of the image is gone unless you have File Recovery for attachments, Obsidian Sync, git or another backup. If you want to be safe, switch When saving to Copy.
- In copy mode the plugin updates
![[...]]andembeds in the note you opened the editor from. Other notes that embed the same image keep pointing at the original. - Saving re-encodes the image. EXIF metadata (camera, location) is not kept; photo orientation is applied to the pixels, so the image looks the same.
- Images larger than 16 megapixels are refused: that is the canvas limit on iOS.
- On platforms that cannot write WebP (older iOS), a WebP image is saved as a PNG copy instead.
Development
There is no build step: main.js is the source, written in plain JavaScript against the obsidian API. The plugin that Obsidian loads consists of three files: main.js, manifest.json and styles.css. Everything else in this repository is documentation and tests.
git clone https://github.com/VBV11/photomark-plus
cd photomark-plus
npm install                 # Playwright, only needed for the tests
npm test                    # 43 checks in headless Chromium against a mocked Obsidian API (test/mock-obsidian.js)
node test/run.js --shots    # also regenerates the screenshots in docs/
The screenshots in this README come from that test page, which imitates Obsidian's default dark theme. The sample "router dashboard" is generated by test/make-sample.js; every name and address in it is fictional.
To work on the plugin inside a vault, clone the repository into <vault>/.obsidian/plugins/photomark-plus/ and reload Obsidian after each change.
Releasing: npm version patch (or minor/major) updates manifest.json and versions.json, commits and tags; git push --follow-tags then lets the GitHub Action publish the release with the three plugin files.