
README file from
GithubMiller Columns (Horizontal Tree)
Turns a nested markdown list into Finder-style Miller columns: one column per depth, so you can walk a tree without scrolling a long outline.
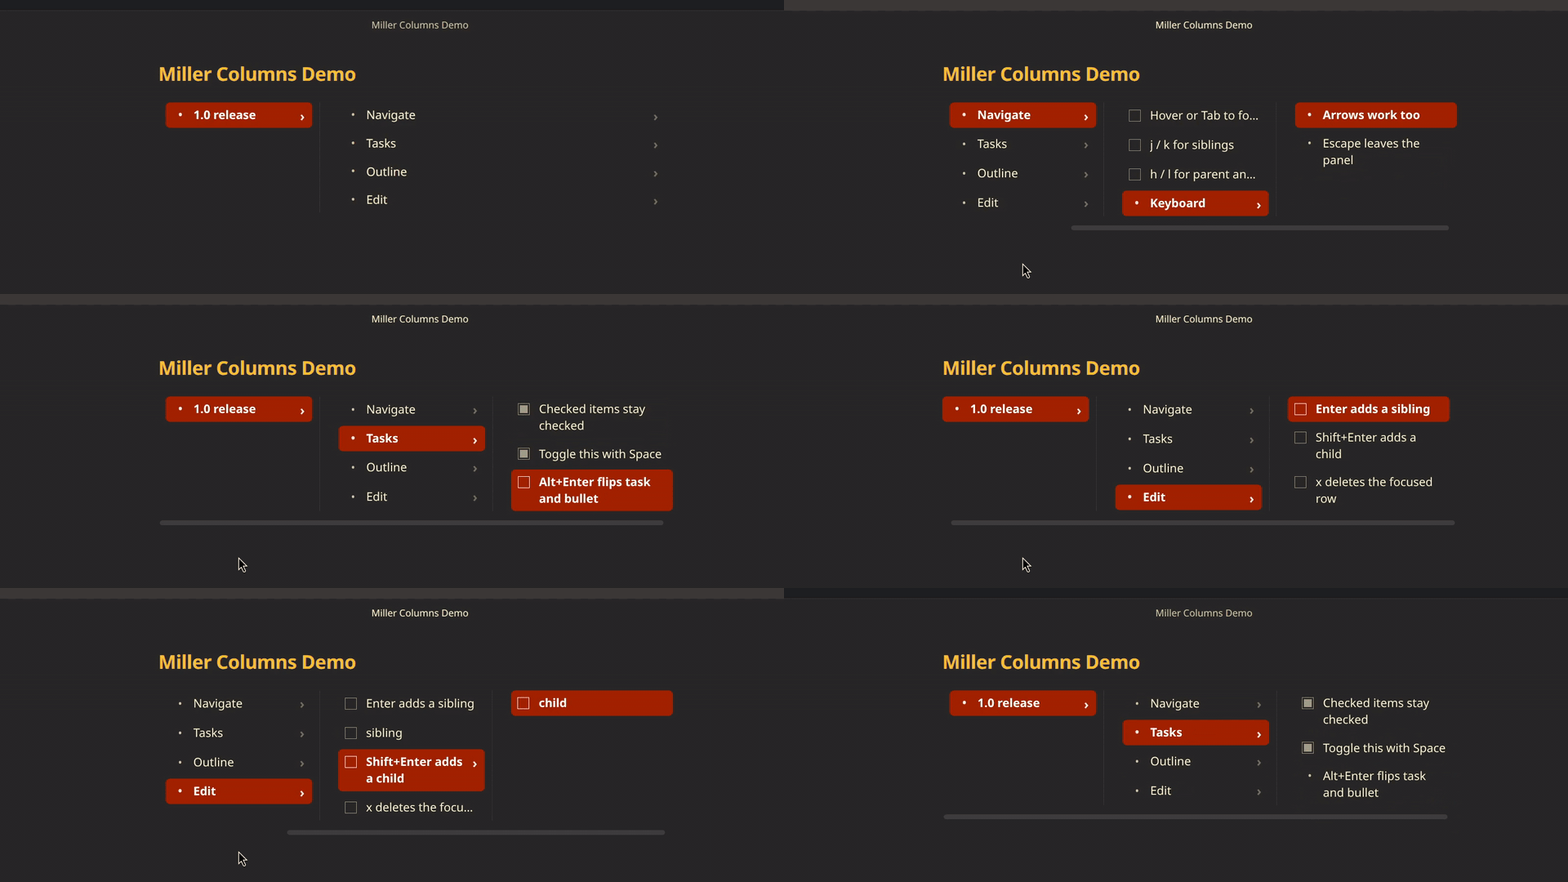
Use
Add #miller-view anywhere in a - list (task items, plain bullets, or both). In reading view or live preview, that list becomes columns.
- Project #miller-view
    - Design
        - Wireframes
        - Tokens
    - Build
        - Parser
        - Renderer
Click a row to open its children in the next column. The last column grows and wraps as a reading pane; parent columns stay compact. Nodes with children show a chevron.
Checkboxes write back to the note. There is no in-place rename yet — edit the line in source.
Settings → Miller Columns (Horizontal Tree) has two options: vim hjkl (on by default; arrows always work) and show chevrons on items with children.
Keyboard
Hover the panel, click it, or Tab into it. Keys do nothing until the panel is active. Escape or a click outside releases it.
| Key | Action |
|---|---|
↑ ↓ / k j |
Previous / next sibling |
← → / h l |
Parent / first child |
Space |
Toggle the focused checkbox |
Enter |
Insert a sibling after the focused item |
Shift+Enter |
Insert a child (creates a new column on a leaf) |
Alt+Enter or Ctrl+Enter |
Flip task ↔ plain bullet |
x, Delete, or Ctrl/Cmd+Backspace |
Delete the focused item and its subtree |
Escape |
Leave the panel |
New items match the focused row’s kind (task or plain) and its indent (spaces or tabs).
Limits
- Only
-lists.*bullets and numbered lists stay as normal markdown. - Rename in the source note. Insert, delete, toggle, and kind flip work in the columns.
- In edit/source mode, insert rewrites the file as one editor change; undo after insert is coarser than after a checkbox toggle or delete.
- Works in reading view and live preview. Source view is the underlying list.
Install
Until it is in the community plugin directory, copy these three files into:
Vault/.obsidian/plugins/miller-columns/
main.jsmanifest.jsonstyles.css
Enable Miller Columns (Horizontal Tree) under Settings → Community plugins. After a manual copy or a BRAT install, reload the app if the plugin does not appear in that list (Command palette → Reload app without saving). Then reopen the note or switch to reading view so #miller-view is processed.
Develop
npm install
npm run dev      # watch build
npm run build    # type-check + production bundle
npm run test     # Vitest
npm run lint
npm run deploy:vault builds, then copies the three release files into the configured Syncthing vault plugin folder.
License
MIT — Copyright (c) 2026 marc-hg