
README file from
GithubMarkup for Agents
Annotate passages in your notes and send them, with your comments, to Claude Code and Codex running in Obsidian terminals.
What it does
- Annotations. Select text, choose Add to Claude or Add to Codex, and optionally write a comment. The passage is highlighted in the note and numbered. All pending annotations ride along with your next message to that agent, together with the text you currently have selected. The terminal shows no extra text, and the annotations are dropped once the message is submitted.
- Selection sharing. Claude Code and Codex see the active note, the selected text and the open tabs through their own IDE integrations (
/ide). You do not paste anything. - A panel under each terminal that runs Claude Code or Codex shows what will be shared (the selection) and how many annotations are waiting. It also tells you when the agent is not connected.
Requirements
- Obsidian 1.7.0 or later, desktop only.
- Claude Code and/or Codex CLI.
- The Terminal plugin, to run the agents inside Obsidian and to get the panel. Sharing the selection works from any terminal started in the vault folder.
Quick start
1. Install the Terminal plugin
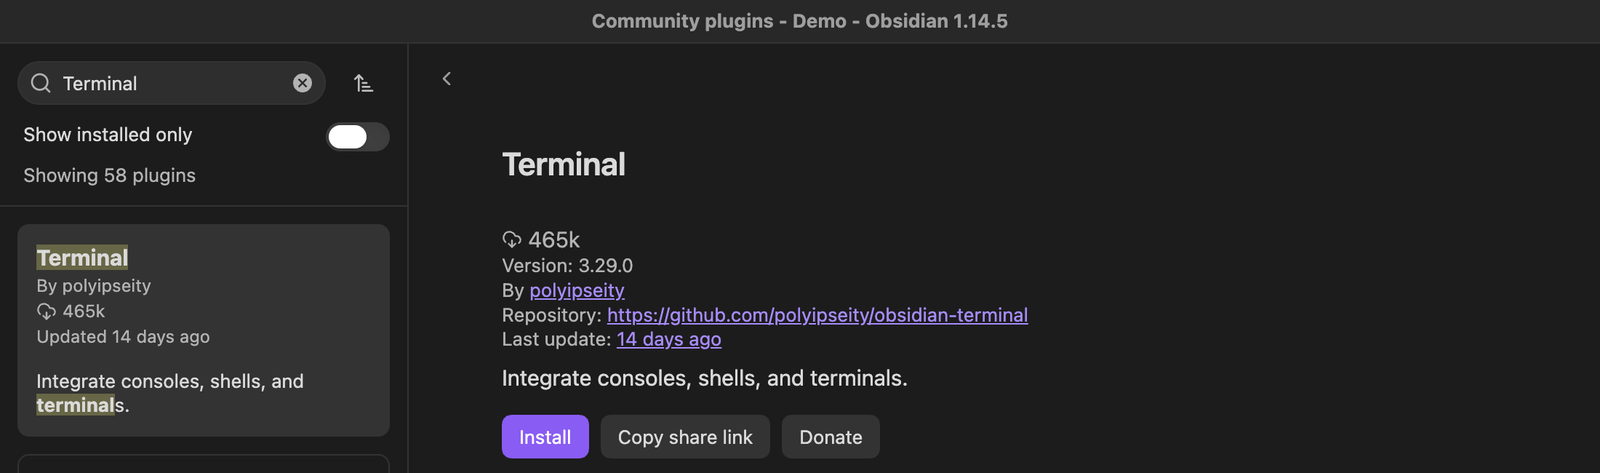
Markup for Agents works with the agents you run in Obsidian terminals, which the Terminal plugin provides. Install it first: open Settings → Community plugins → Browse, search for Terminal, install the one by polyipseity and enable it.
2. Start an agent in a terminal
Open a terminal at the vault root: search the command palette for Terminal and pick the integrated terminal opened at the vault root. Drag its tab into the right sidebar so your note and the agent sit side by side. Run claude or codex there.
3. Connect the IDE integration
- Claude Code connects by itself when Auto-connect to IDE is enabled (
/config). Otherwise type/ide. - Codex needs
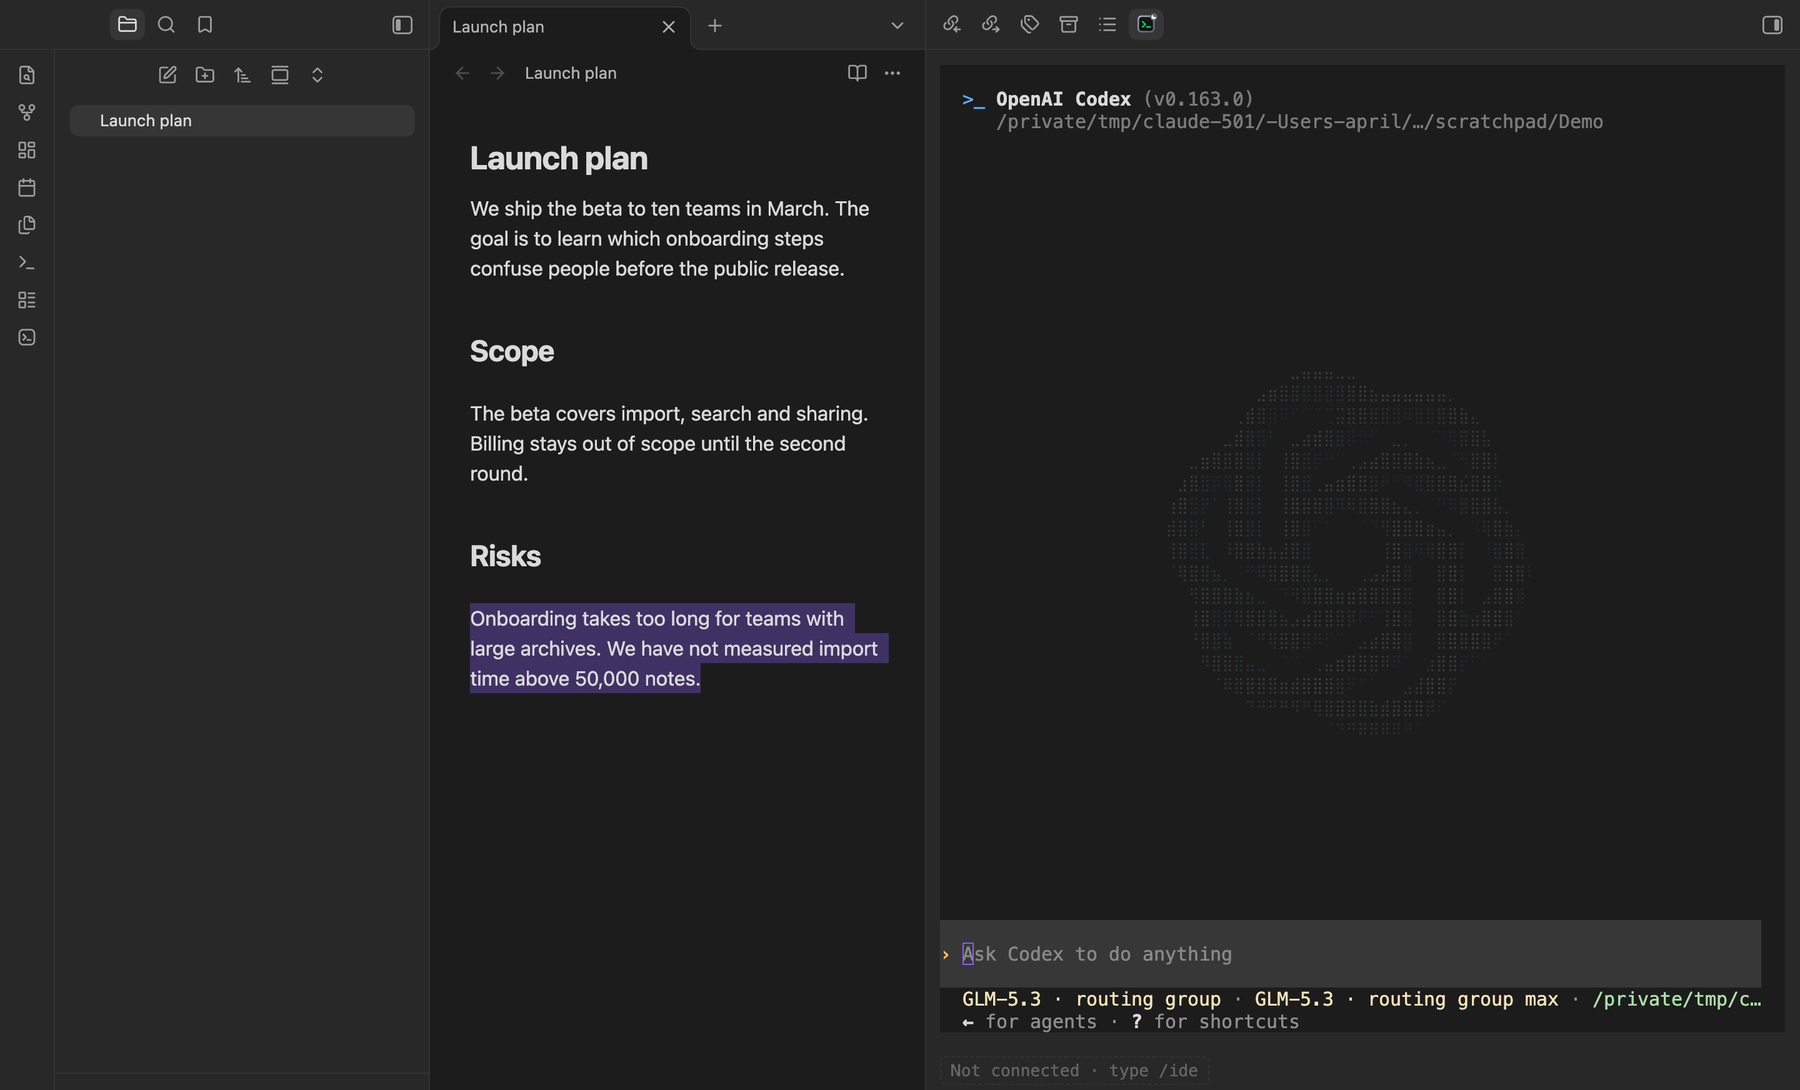
/ideonce per session. Its footer showsIDE contextwhen it is on.
When the connection is up, the agent's input shows which note you are in, and the panel under the terminal repeats it.
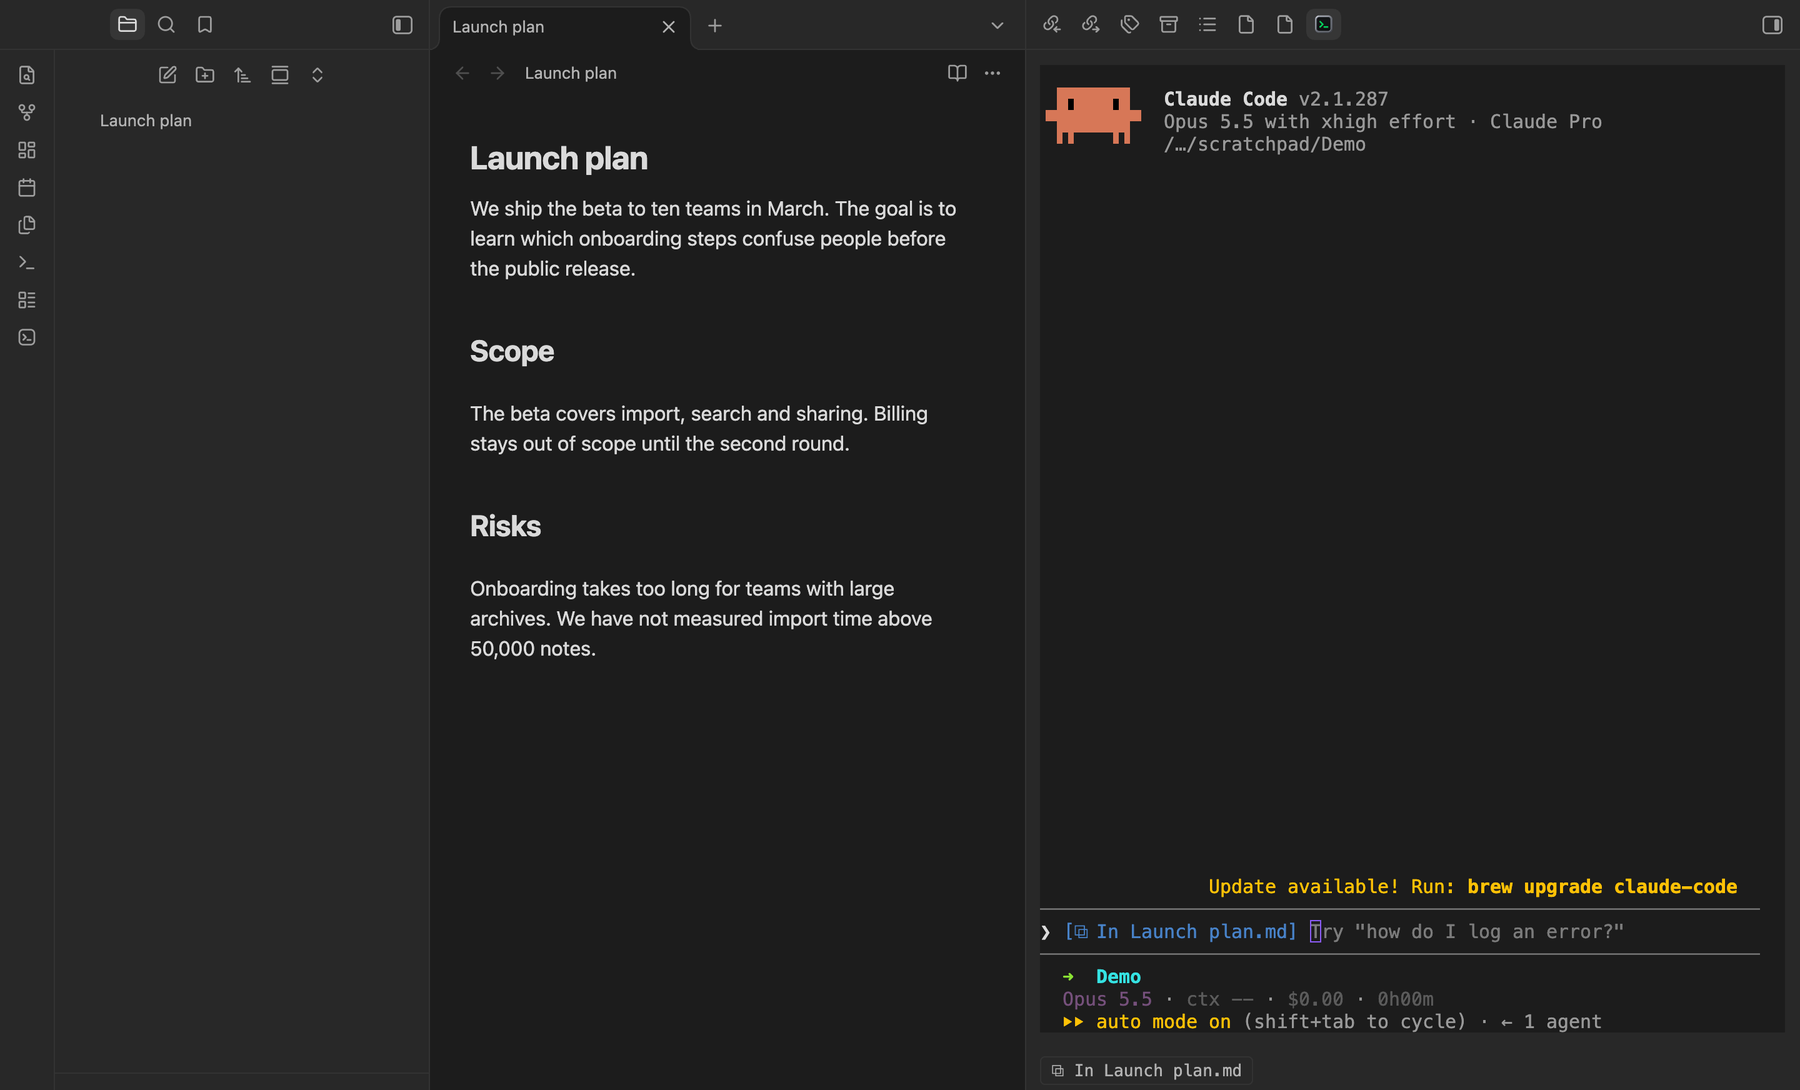
Until then the panel says Not connected and tells you to type /ide. Codex before /ide:
4. Select text in a note
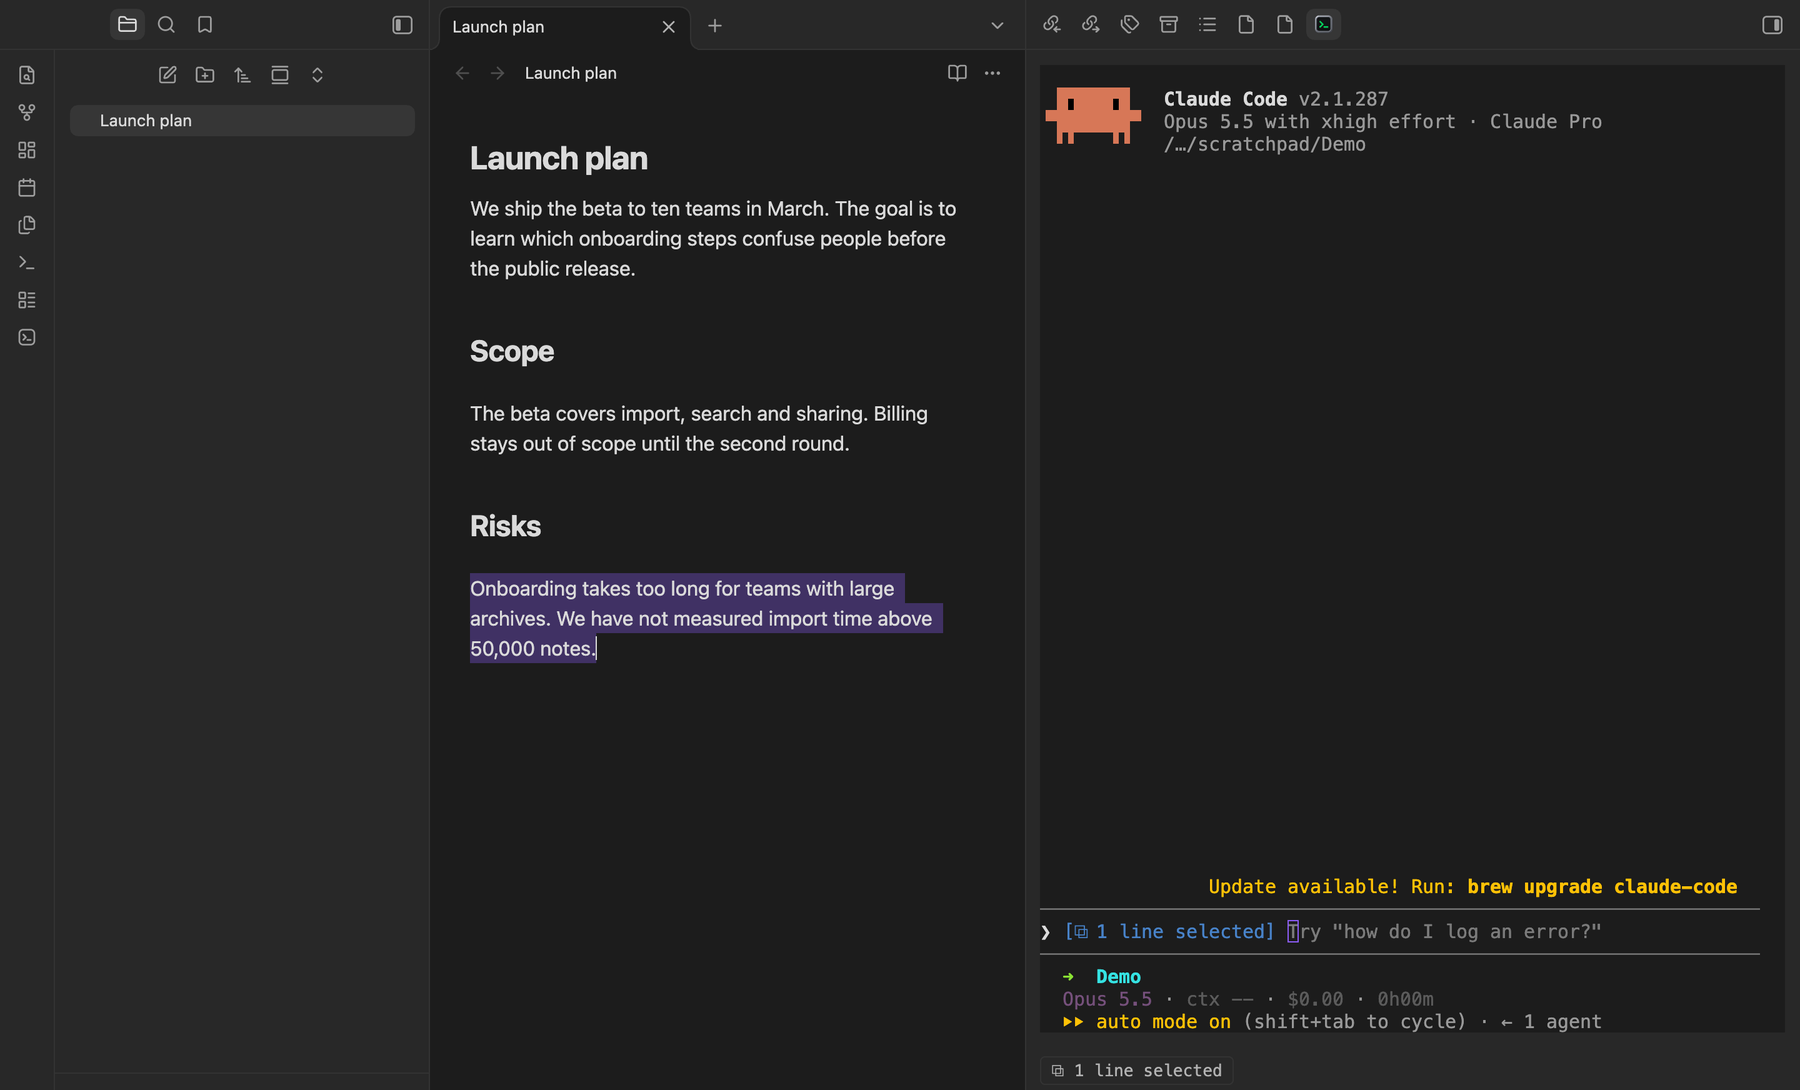
Whatever you select in the editor is what the agent sees. The input and the panel show it, for example 1 line selected. There is nothing to paste.
5. Add an annotation
With text selected, right-click and choose Add to Claude (or Add to Codex), or run the same command from the command palette. Write a comment and press Add annotation.
To show the agent an image, paste it into the comment. It is saved to your attachment folder, as when you paste an image into a note, and the agent opens it. Images embedded in the annotated passage reach the agent the same way.
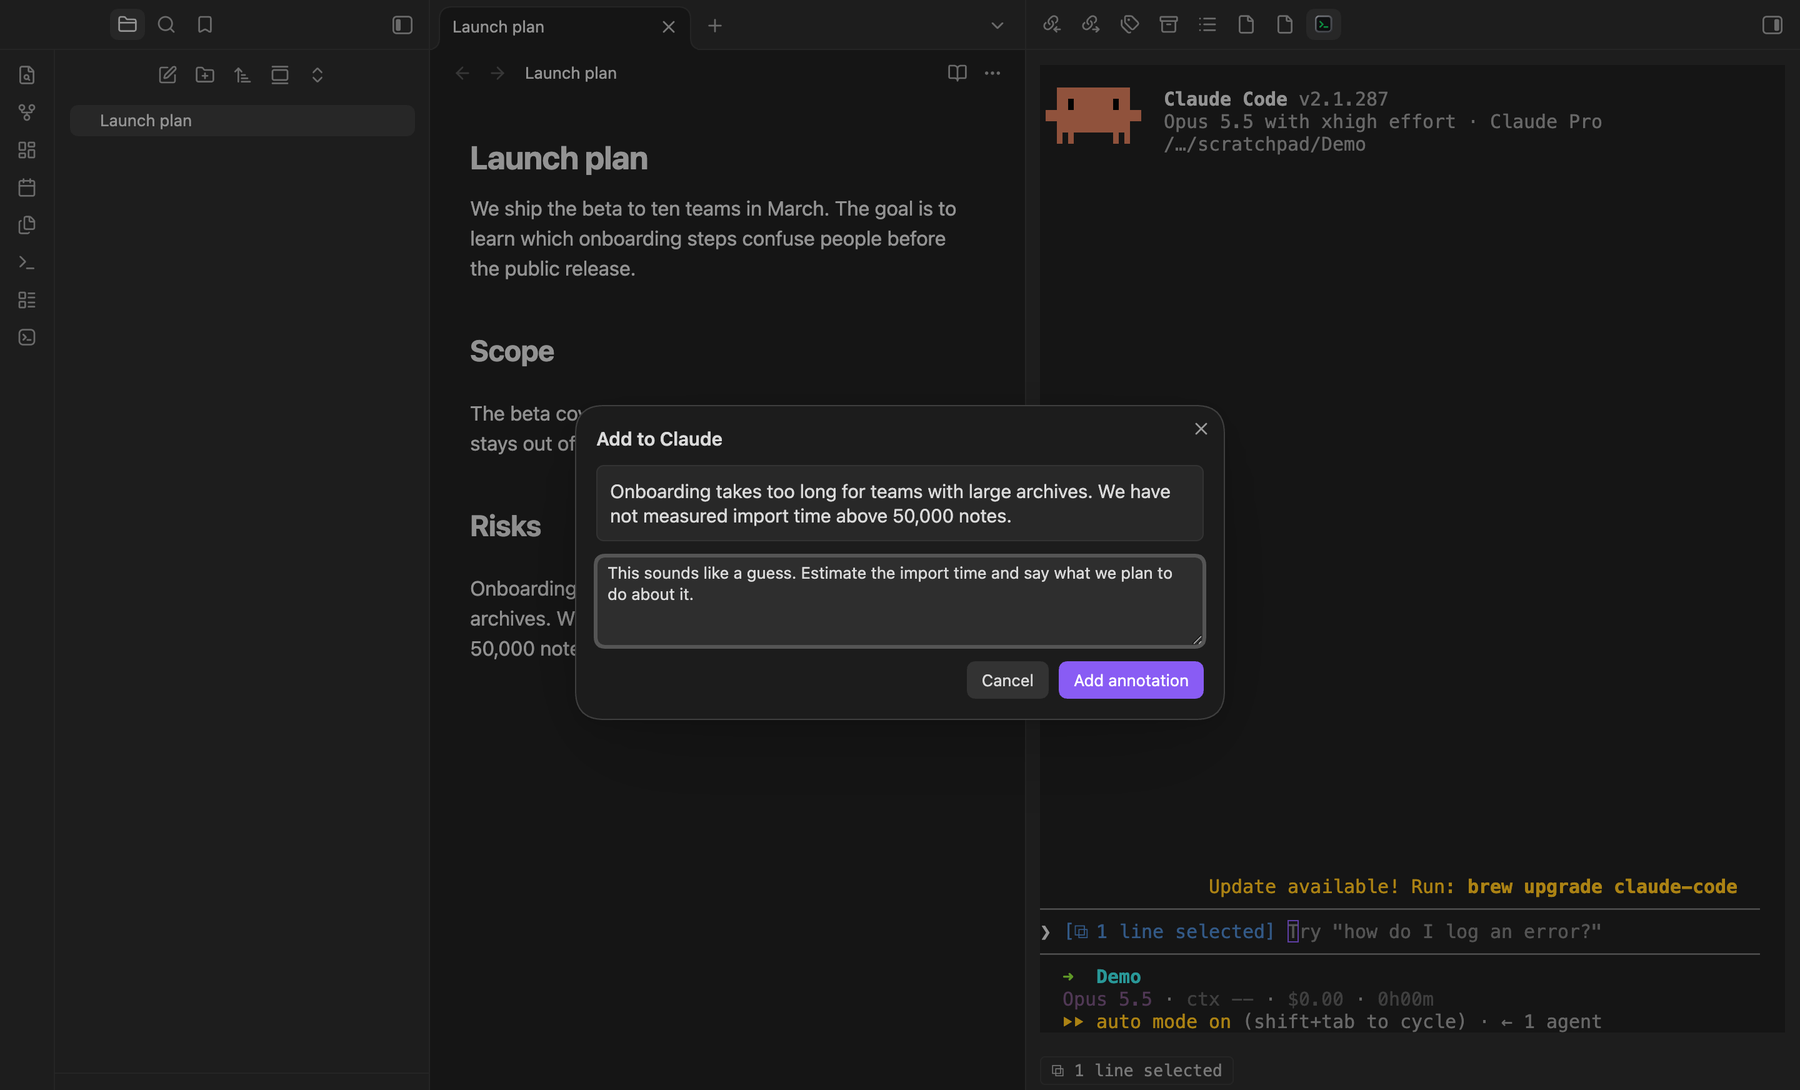
The passage is highlighted and numbered in the note, and the panel counts the annotations waiting for that agent. Add as many as you like, in as many notes as you like. Claude annotations are orange.
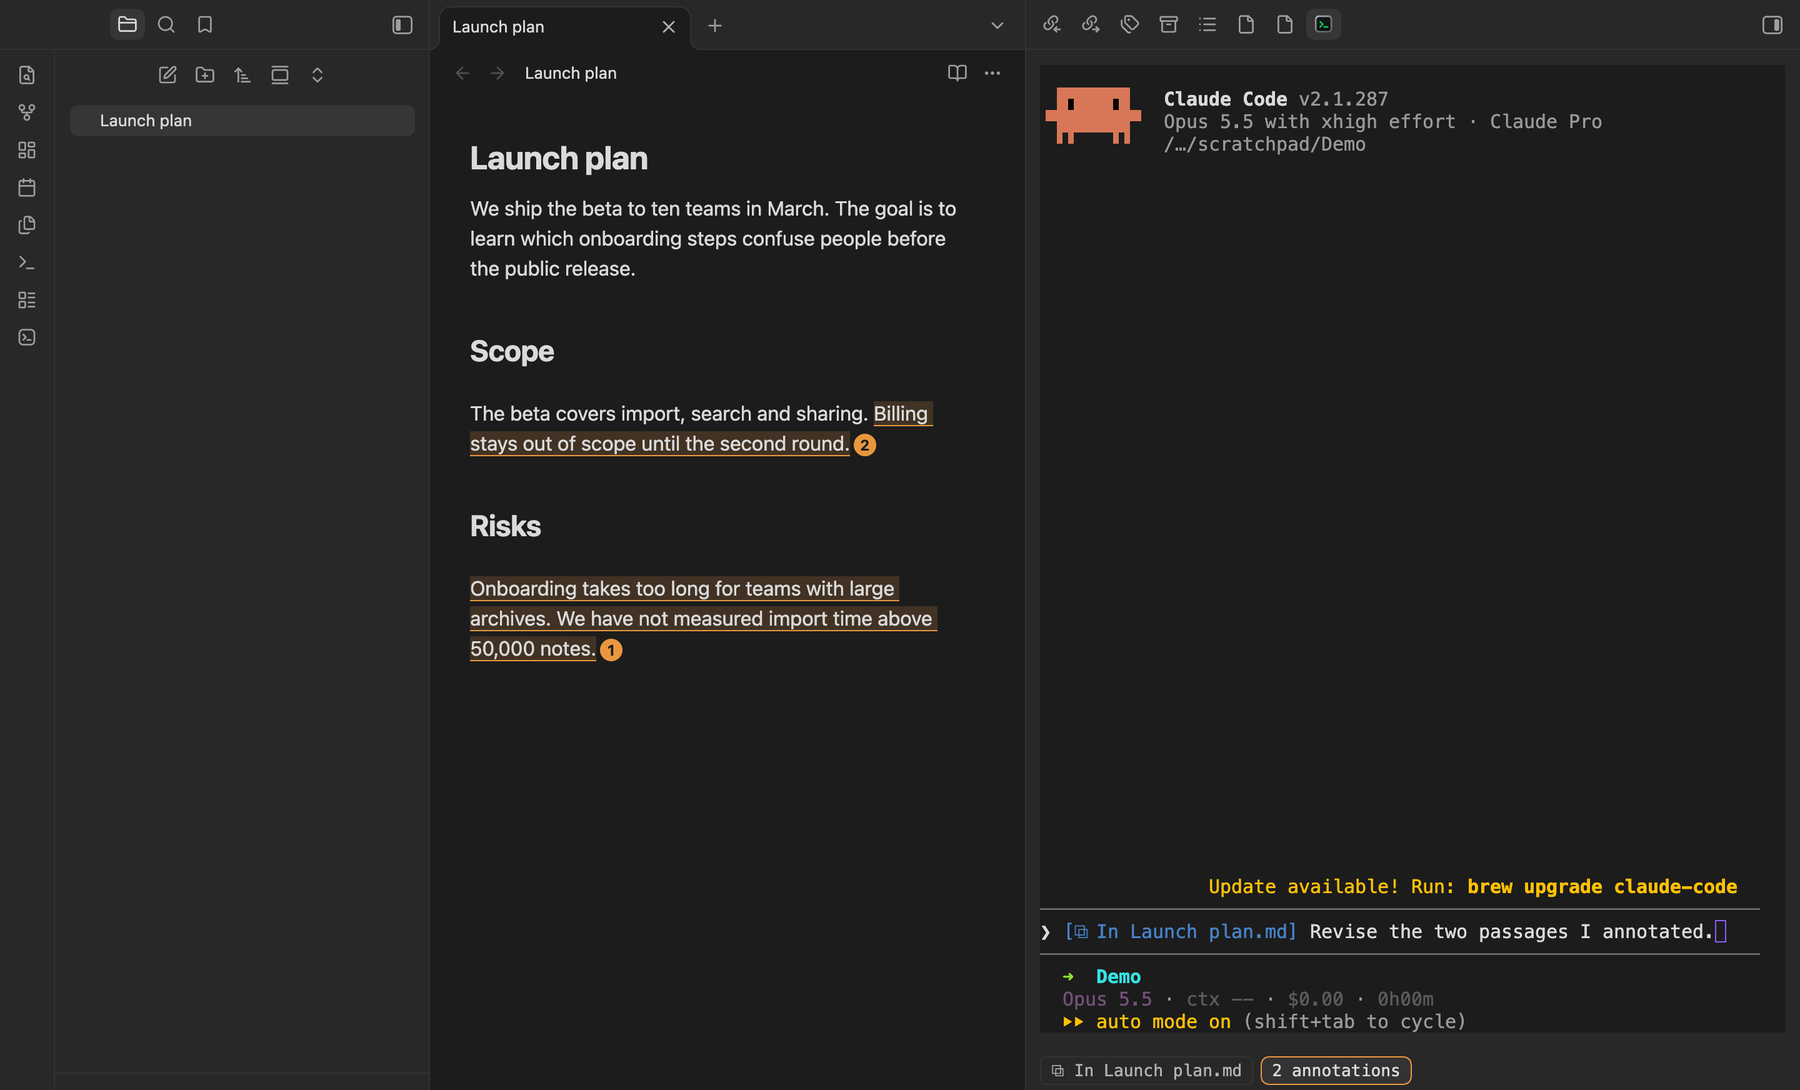
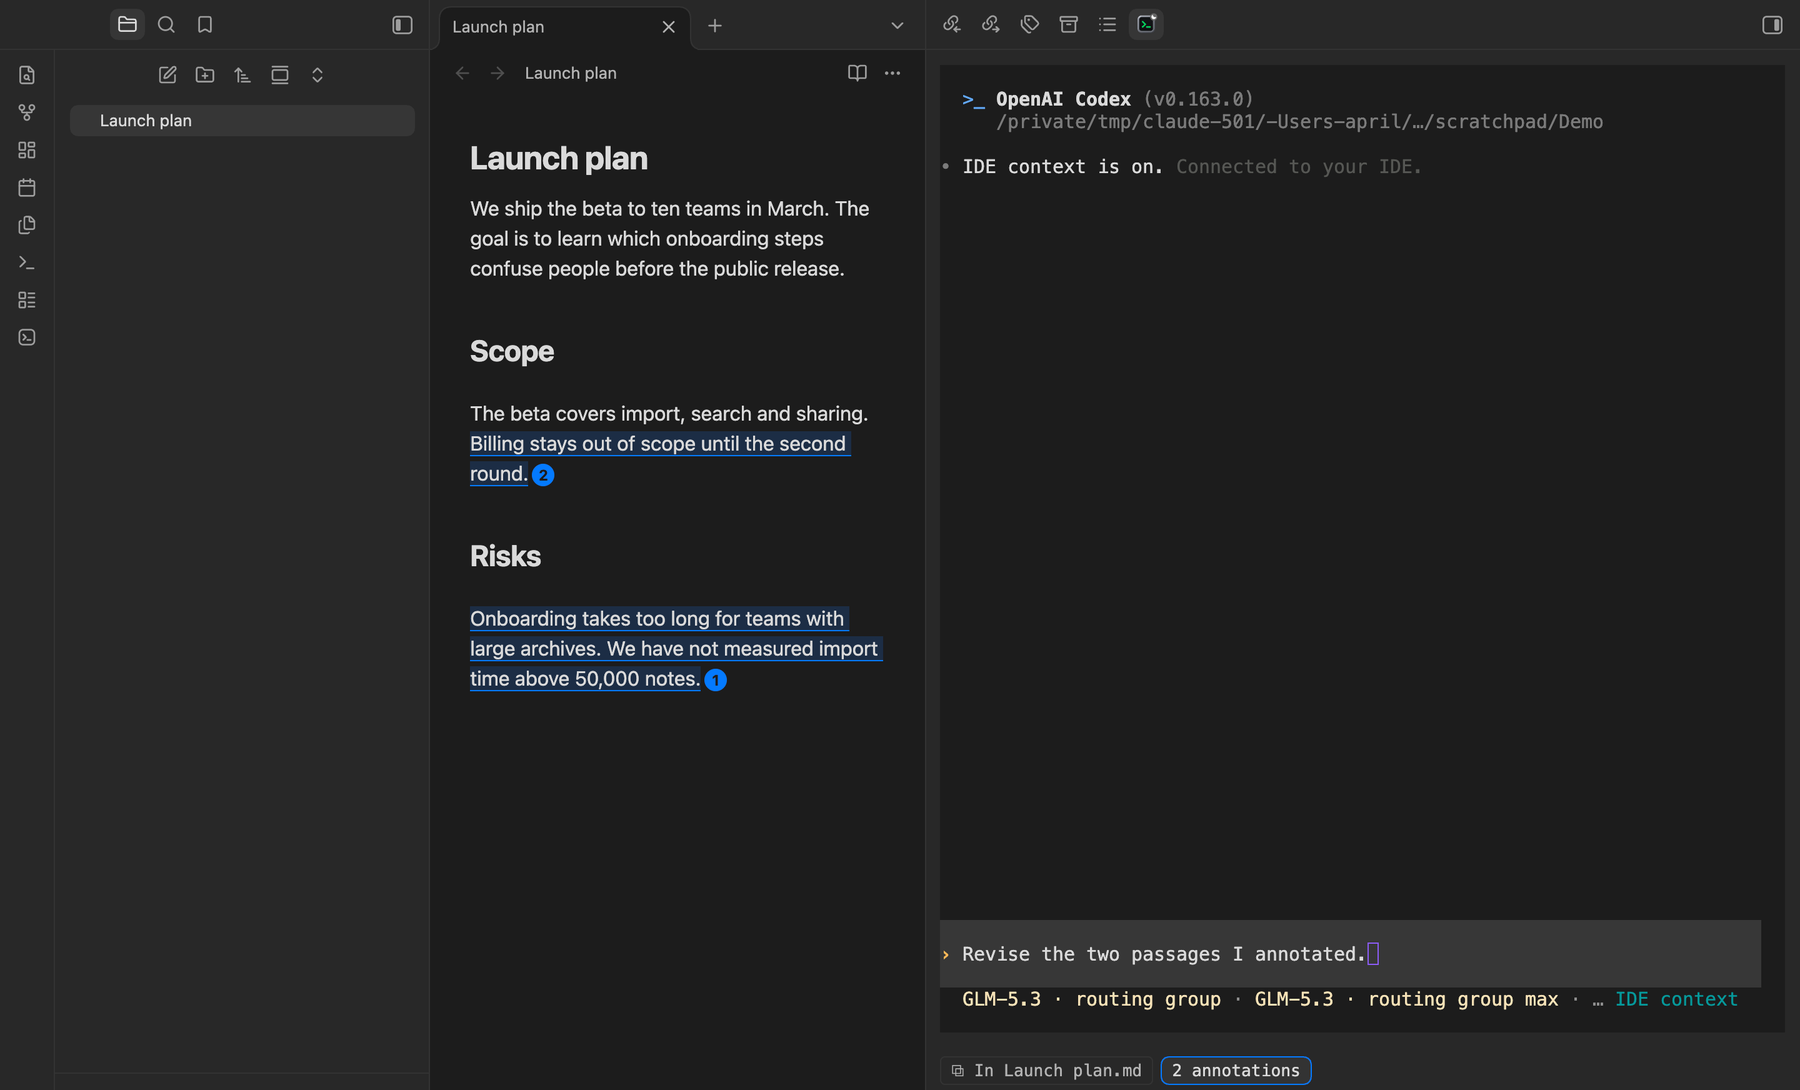
Codex annotations are blue. After /ide, Codex's footer shows IDE context, and the panel shows the active note and the annotations waiting.
6. Review, jump and edit
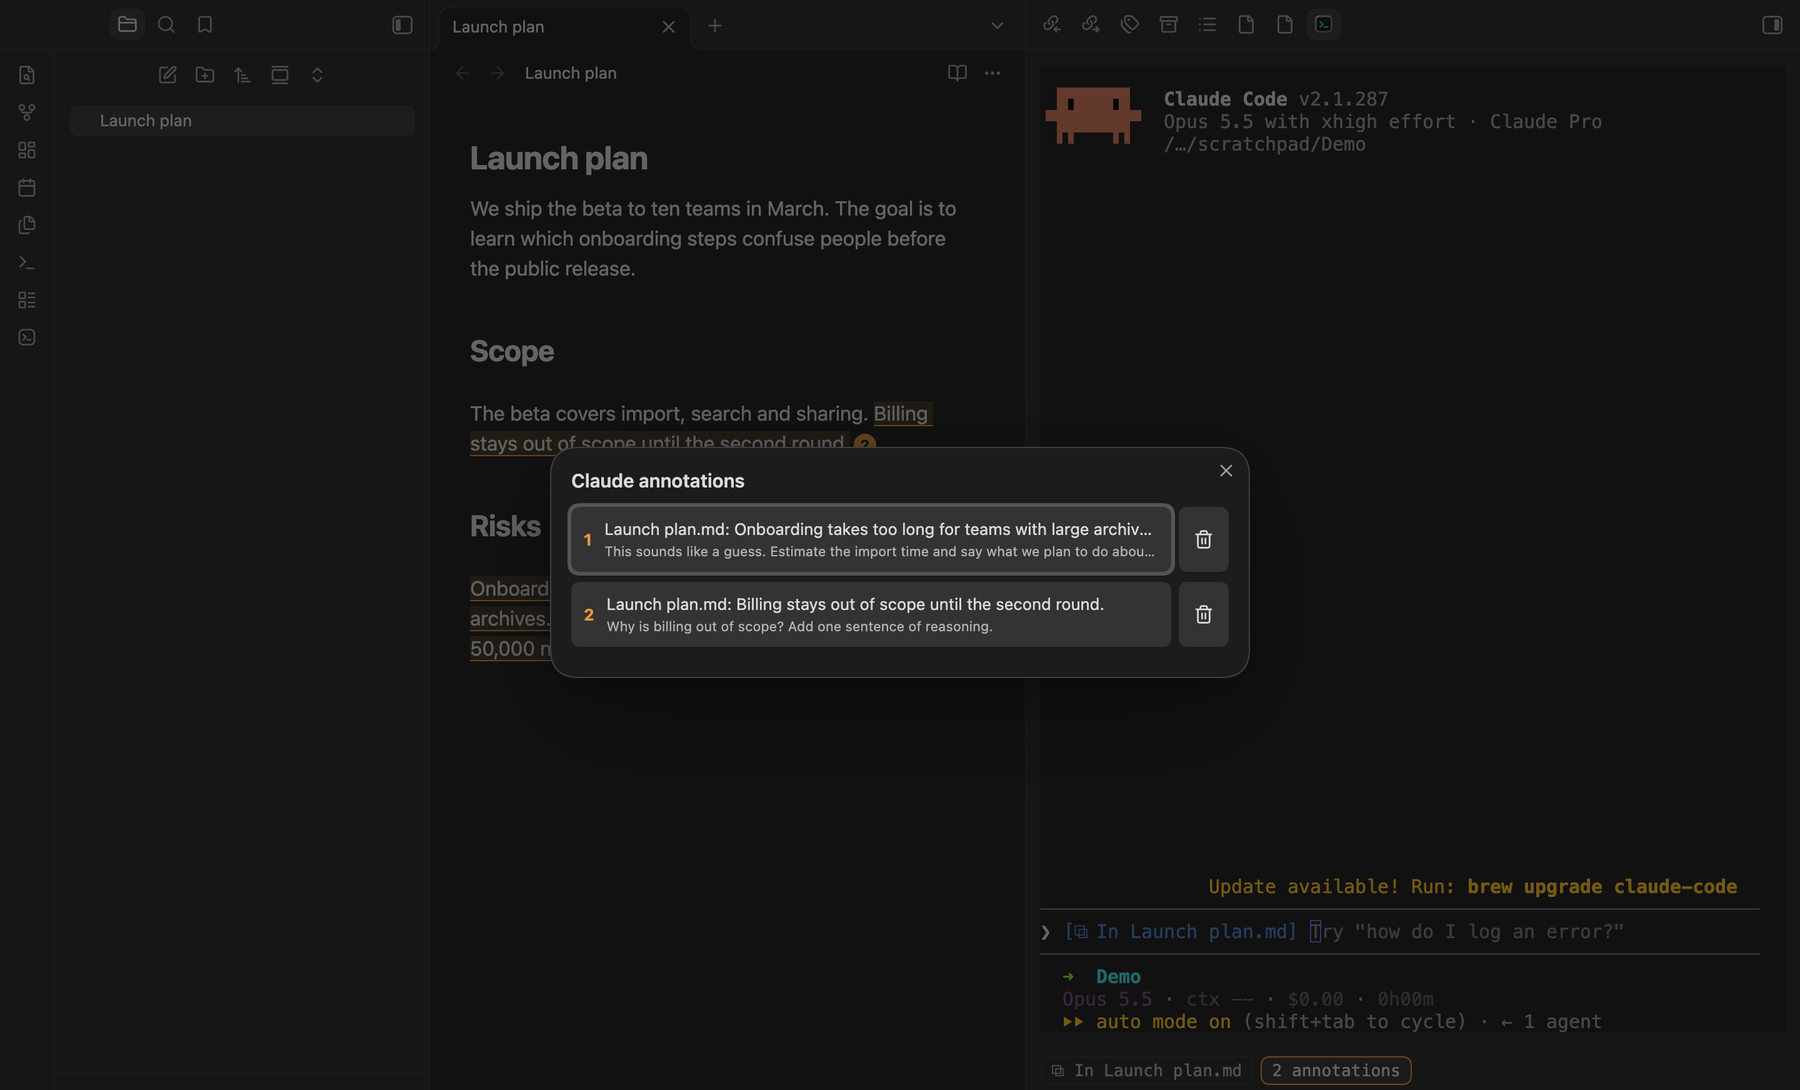
Click the annotation count in the panel to open the list. Click an entry to jump to that passage in its note, or use the trash button to remove it. Click a numbered badge in the note to edit or remove the annotation. Deleting the annotated text removes its annotation.
7. Send
Write your message in the terminal and press Enter. All pending annotations travel with it, together with your current selection, and are cleared once the message is submitted.
8. Optional: set a hotkey
No hotkeys are set by default. Open Settings → Hotkeys, search for Markup for Agents, and assign keys to Add to Claude and Add to Codex, for example Cmd+Alt+C and Cmd+Alt+X. They also work while a terminal has focus.
Commands
| Command | Action |
|---|---|
| Add to Claude / Add to Codex | Annotate the selected text |
| Mention selection in Claude | Send an @ reference to the selection to Claude Code |
| Restart Codex IDE server | Reconnect the Codex channel |
What it touches on your machine
- Starts a WebSocket server on
127.0.0.1(random port, protected by a token) and writes~/.claude/ide/<port>.lockso that Claude Code finds it. The file is removed when the plugin unloads. - For Codex, answers on Codex's local IPC channel (
~/.codex/ipc/ipc.sock, or\\.\pipe\codex-ipcon Windows). If another program such as the Codex desktop app already owns that channel, the plugin joins it as a client instead of competing. - Reads the visible screen of terminals to see the agent's input and footer, and runs
psto tell which terminal runs which agent. - Saves images pasted into annotation comments to your attachment folder.
- Makes no network requests. The only data that leaves Obsidian is what you hand to the agents: the selected text, open tab names, annotations and the paths of their images.
Limitations
- The Claude Code and Codex IDE protocols are not formally documented. This plugin follows their observed behaviour and may break when they change.
- The panel relies on the Terminal plugin's internal terminal object.
- Windows support follows Codex's named-pipe design but has not been tested.