
README file from
GithubCloud Relay
Self-hosted, real-time vault synchronization for Obsidian. Mirrors notes, attachments, folders, and vault settings across your devices through your own server.
[!NOTE] Cloud Relay requires a companion server, DB Cloud Relay, that you host yourself. No accounts, no third-party cloud.
Features
- Real-time sync — edits propagate per-keystroke over WebSocket
- Offline-safe — edits made offline merge without conflicts; genuine same-section conflicts show a side-by-side picker (keep local, keep remote, or combine)
- Full vault mirror — notes, attachments (images/PDF), empty folders, themes, snippets, and selected
.obsidiansettings - Fast setup — first device creates the vault, additional devices join with a single invite link
- Recovery tools — per-device "Restore from server" and server-side "Reset vault"
Screenshots
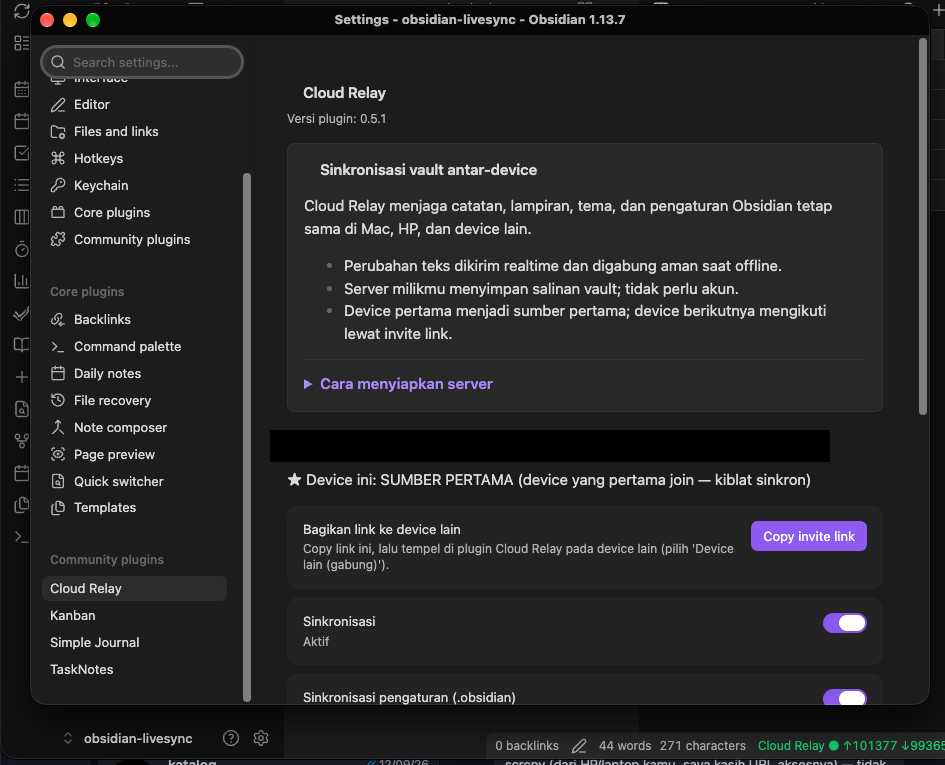
Setup and status panel. When two devices edit the same section offline, a picker offers: keep this device's version, keep the other device's version, or combine both.
Getting started
1. Run the server (once, on any Linux box)
git clone https://github.com/enl69/db-cloud-relay.git
cd db-cloud-relay
docker compose up -d
Then point a tunnel (e.g. Cloudflare Tunnel) at localhost:1111 and grab the ADMIN_TOKEN from the logs:
docker compose logs | grep ADMIN_TOKEN
2. First device (e.g. your Mac)
- Install the plugin and open Settings → Cloud Relay
- Choose Device pertama (first device)
- Enter your Server URL and the Admin token
- Click Create vault — status bar turns green
3. Additional devices
- On the first device: Copy invite link
- On the new device: choose Device lain (gabung), paste the link
- Review the server summary (note count, last update), then either:
- Ikuti device pertama (ganti total) — wipe local and mirror 100% from the first device
- Gabungkan — merge local notes into the sync
[!IMPORTANT] Do not run Cloud Relay alongside another sync plugin (Obsidian Sync, Self-hosted LiveSync, iCloud) on the same vault.
Installing the plugin
- Beta (recommended for now): install BRAT, then Add beta plugin →
enl69/cloud-relay - Manual: download
main.js,manifest.json,styles.cssfrom the latest release into<vault>/.obsidian/plugins/cloud-relay/
Security notes
- All traffic should go over HTTPS (e.g. via Cloudflare Tunnel)
- No end-to-end encryption: your server operator (you) can read vault contents
- Each vault has an unguessable ID + token; the invite link is a capability — treat it like a key
Development
See DEVELOPMENT.md for architecture, protocol, invariants, incident history, and the test suite (npm test, npm run e2e).